Find you way back…

Making Appointments

Sessions (Time Slots).

  • Create Sessions for each appointment book
  • Slot are coloured to indicate their availability
  • Sessions can be made available to:
    • ALL (your staff and patients on the portal)
    • Staff only
    • Reserved
      • If you double click on the slot a prompt will appear confirming your intention for Reserved Appointments
    • Not Available
      • Time slot is blocked you can’t make appointments

Patient appointment

  1. Select the practitioner’s appointment book
  2. Move to the appropriate date and time.
  3. Reserve a timeslot by double-clicking on an available time.
  4. Find the patient
  5. Once selected, the patient’s name will appear in the time slot.

Appointment Reminder

  • Enable Email after making appointment in the Appointment section of system settings

  • Create a document template with the code ‘APPTREMIND’. 

If you make an appointment  (more than one hour in the future and the patient has an email address), you will be prompted with an appointment reminder to email.  

Meetings (Non-patient appointment)

These appointments do not relate to patients. These are also used to block out times to prevent patient bookings

  1. Move to the appropriate date and practitioner.
  2. Right-click on an empty appointment slot and select New Meeting.
  3. Type in a description for this appointment.

Encounter Type

  • A default encounter type will be set from the session selected
  • Right-click on the time slot to select a different Encounter type
  • Icons are displayed for different encounter types.

Appointment Notes

  • Annotate the appointment with a message
    • A note will be written next to the appointment
    • The appointment will be displayed with a red ring around it

All Day Events 

Places a note at the top of a day

  1. Move to the appropriate date and practitioner.
  2. Right Click on an empty appointment slot and select New All Day Event.
  3. Type in a note for this day.
  4. Up to 10 events can be entered and displayed at the top of a day

Other Appointment Functions:

Print, txt or Email an appointment reminder

  1. Right-click on the existing appointment
  2. Select Document
  3. Select Appointment Reminder
  4. Review the document then click on Email or Print
  • Schedule txt reminders or emails to be sent to all patients with upcoming appointments by using the Scheduler in the Tools Menu.

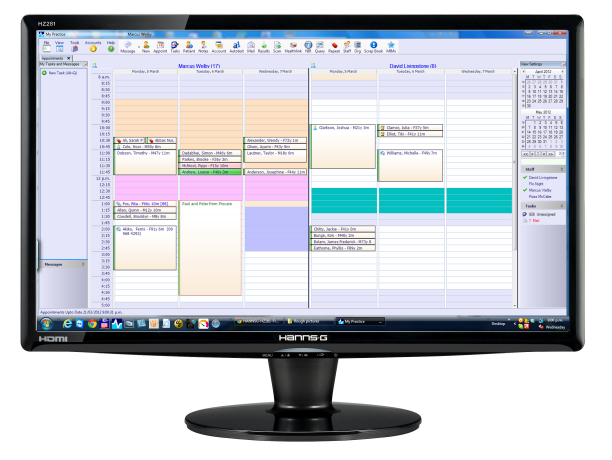
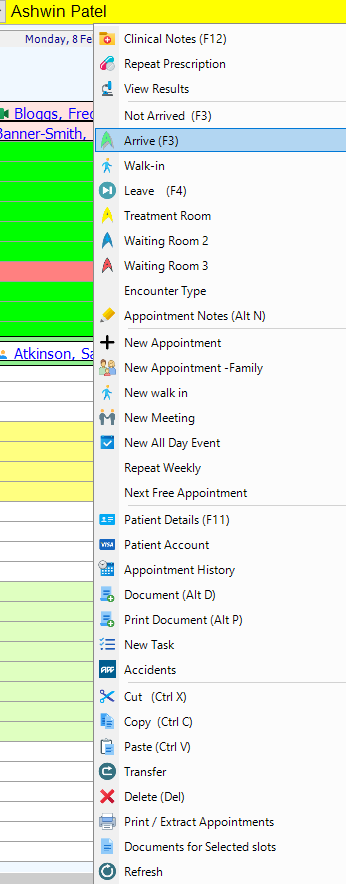
Indicate the state or location of a patient

Define a label for three different coloured states in the system settings
  • Location example
    • Treatment Room (Yellow)
    • Waiting Room 2 (Blue)
    • Waiting Room 3 (Red)
  • Triage Levels example
    • Standard (Yellow)
    • Urgent (Blue)
    • Emergency (Red)

Change the appointment’s workflow status 

  • Not Arrived (White)
  • Arrived (Green)
  • Being seen (Light Blue)
  • Waiting for billing (Pink)
  • Left (Grey)

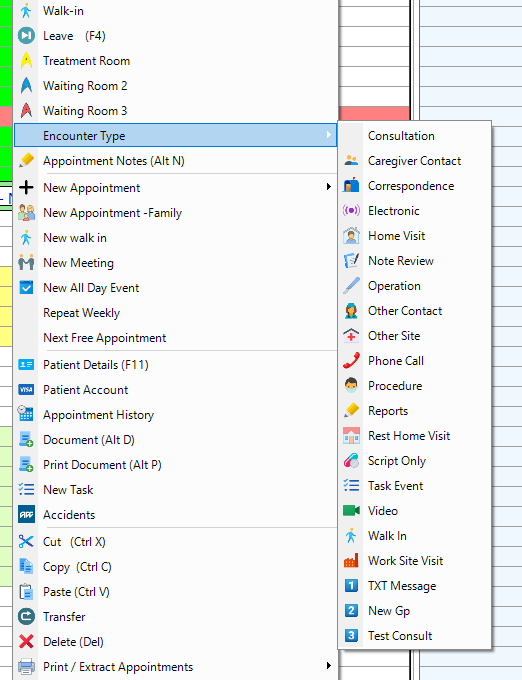
To Transfer care to another practitioner

  1. Click on an existing appointment
  2. Right-Click on a new slot in another appointment book
  3. Select Transfer
  • Marks original appointment as completed
  • Prompts for appointment note
  • Marks new appointment as Arrived

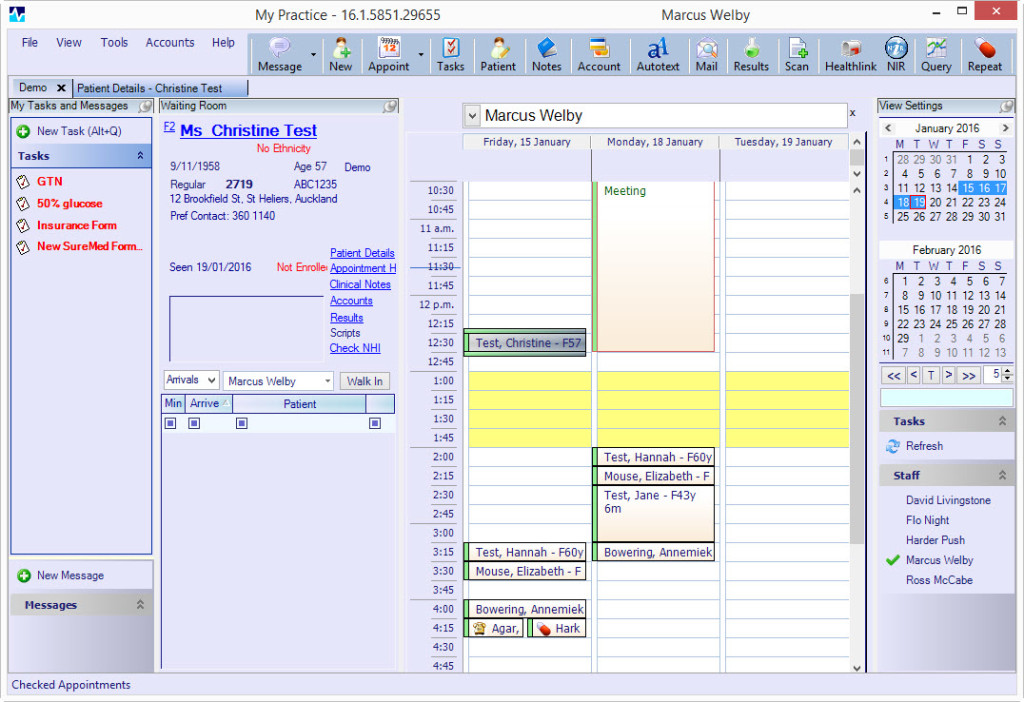
To create follow up appointments that repeat weekly

  1. Right-click on an existing appointment
  2. Select Repeat Weekly
  3. Provide the number of weeks
  • Appointments are created at the same time /day of the week if a slot is available.

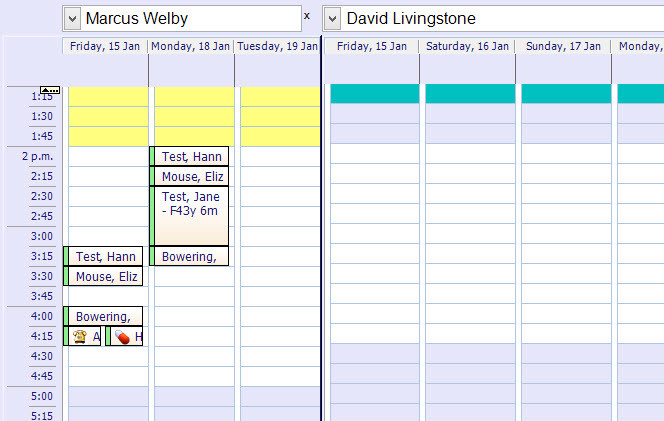
Find the next free appointment

  1. Click on any existing appointment for the staff member
  2. Right-Click on a Next Free Appointment
  • The cursor will move to the next free appointment in the same book

Create a new task

Create and assign a new task for this patient

Enter an accident

Enter an existing accident’s M45 registration details
Top