Letters and results can be scanned into MyPractice and stored in the patient’s Clinical Notes.
There are 4 steps:
Scanning the document into a folder
Importing the document into MyPractice
Labelling the document
Filing the document
1. Scanning documents
Make sure your scanner is configured to copy files into a nominated folder.
Place the document in the scanner and press [Scan].
Follow these instructions if you have Microsoft Office Document Scanning, otherwise, follow the steps that came with your scanner:
Highlight Black and White on the list of options and press [Scan].
When it has finished scanning that document, place another document on the scanner and press [Continue].
When you have scanned all of your documents, press [Done] to save the files.
Quit out of all scanning programs and viewers, saving the documents if you are prompted to.
2. Importing documents
Click on the Scan button at the top of the screen.
If you have one nominated folder for scanning, click “Get Scanned Files” to load the documents you just scanned.
If you have more than one folder set up (or you need to browse your computer for the file), use the drop-down menu to select the folder.
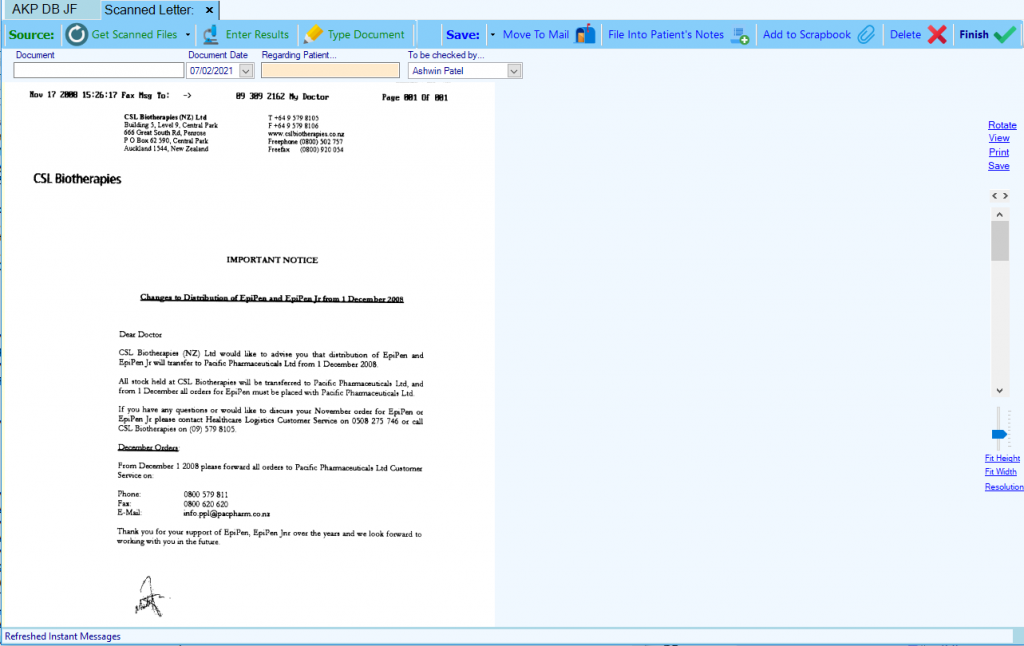
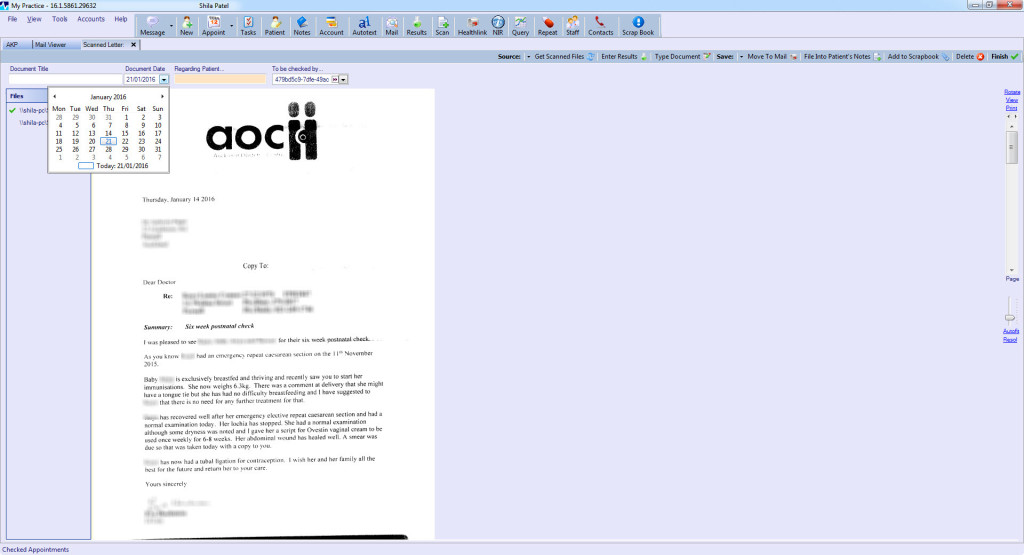
If there is more than one document, a list of all documents will appear at the left-hand side. When a document in that list is highlighted, the scanned document is visible and you can enter information about that document.
To delete an unwanted document, highlight it in the list and click Delete.
If the document has been scanned in the wrong way up, use the [Rotate] button on the right-hand side (just above the scroll bar) to correct it.
3. Labelling documents
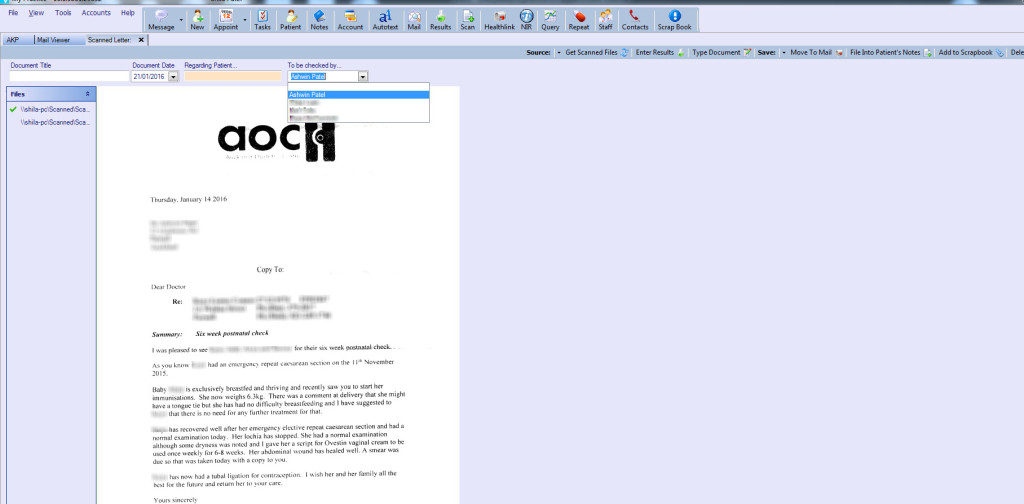
For each document, highlight it in the list and enter the information in the fields at the top.
In Document Title, insert the name of the sender Date refers to the date the letter was written. Use the drop-down calendar to select the date.
The Regarding Patient field will allow you to searchfor the patient in your system. Enter part of the name and press [Enter] to search.
Under To be checked by, choose the patient’s preferred practitioner from the drop-down menu.
Note: If there is more than one page in the same letter, each will have been scanned separately and will show up as separate entries in the list. Fill in the details for each one separately.
4. Filing documents
If the preferred practitioner hasn’t read the document, click on Move to Mail. This will send it to that practitioner’s mailbox.
If the practitioner has already seen the document, click on File Into Patient Notes. Filed documents can be viewed in the patient’s clinical notes (in the Results tab).
Note: documents that have been moved to “Mail” will not appear in the patient’s clinical notes until they are filed.